Your cart is currently empty!
How to Take Good Pictures in Zwift

Everyone loves to take great photos. Whether it’s for your Zwift Companion Activity, Strava, Instagram, or Facebook. Here are a few tips on how you can take the best screenshots possible in Zwift.
1. Camera Angle 0
Camera angle zero is sort of like a drone view. You can control where the camera faces, how high/low it is, and the camera angle. Using this camera angle will allow you to find the best angle to get a great pic of your avatar.

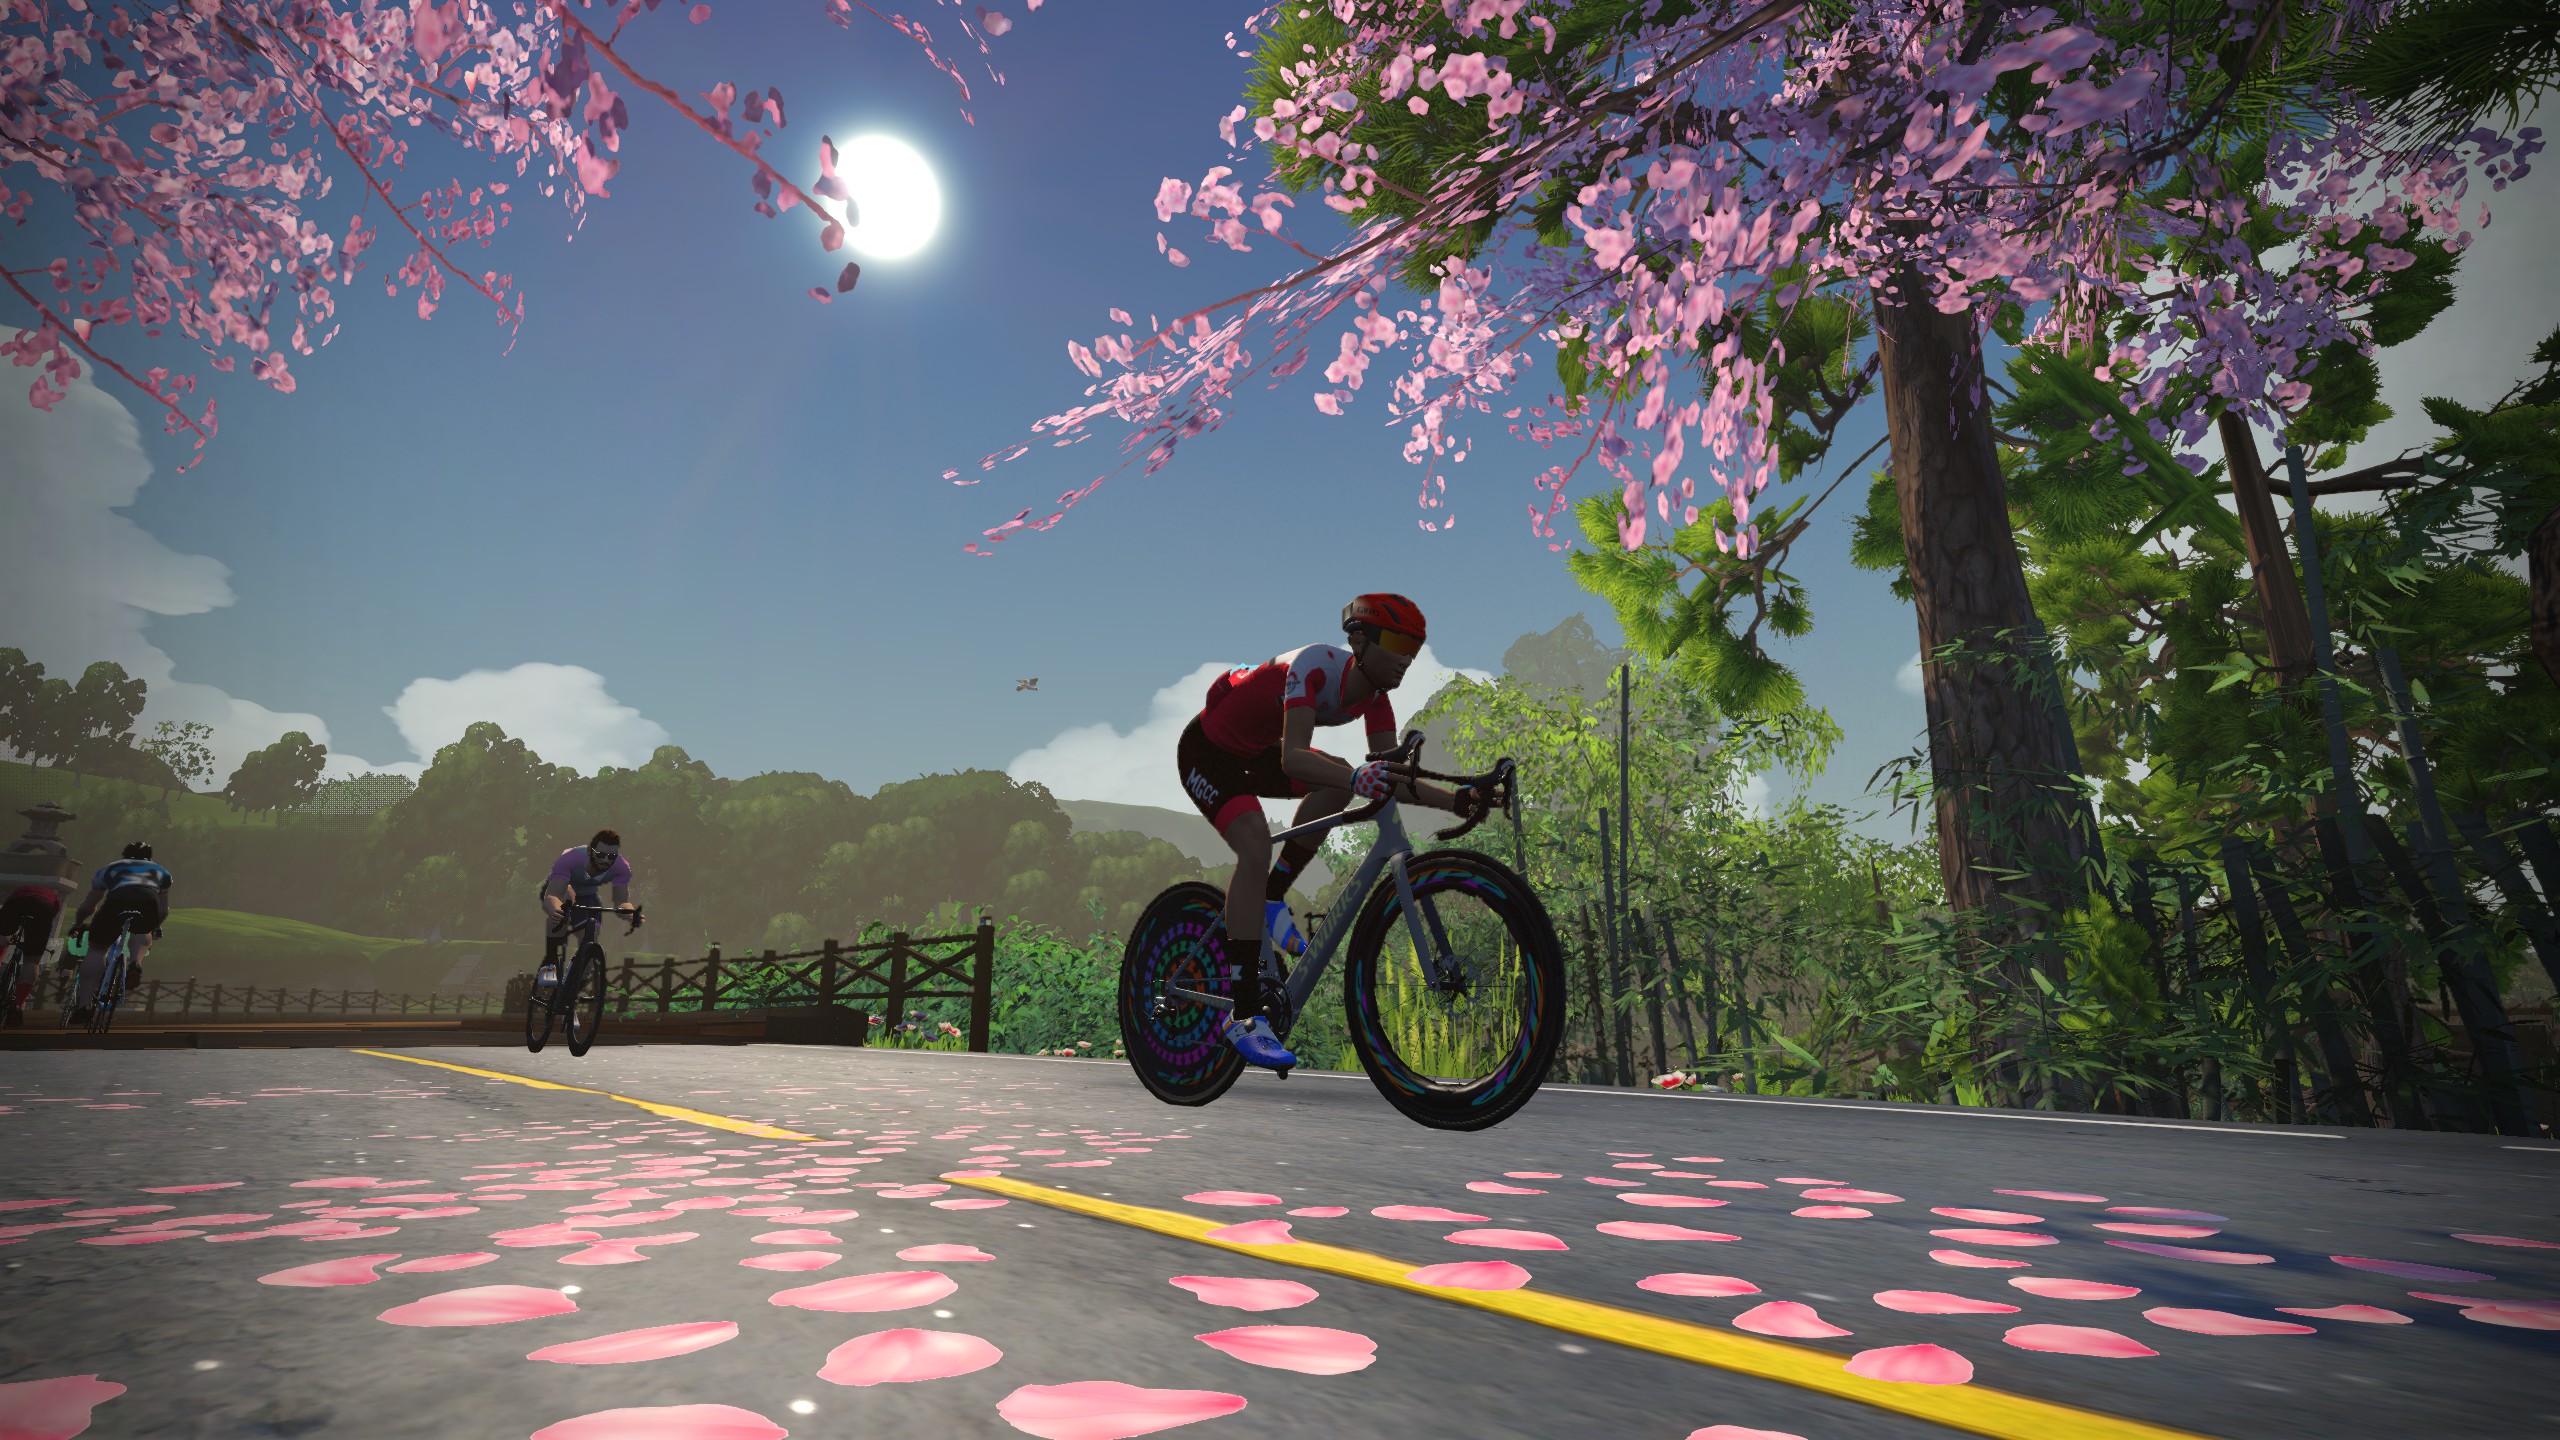
2. Avoid the shadow
The best pictures are the pictures that highlight your avatar, rather than keeping your avatar in the dark. See the difference between an image in the shadows, and an image out of the shadow. In order to avoid the shadow, try moving the camera angle to different sides/angles.


The image on the right is much better, and highlights your avatar a lot more.
3. Remove the HUD
Removing the heads up display from the screenshot is the best way to get a clean crisp image like the ones shown above.


4. Best way to take screen shots
The best way to take screenshots is by using the Companion App or F10. Note that F10 only works if you are using a computer. Another way to take a screenshot is by tapping(or clicking) anywhere on the screen. You can then use the game bar to take a screenshot.
5. How to view your screenshots
When saving your ride, you will be able to remove the HUD or keep the HUD, but you can only upload 5 images. On tablets and phones only the version with the HUD is saved to your camera roll. On computers, you can find both the HUDless and HUD version of the images.

That’s it for this article. Enjoy taking some amazing screenshots! Any other tips/strategies? Share them below in the comments!